Getting Started
This document assumes that you prefer to use Blazor WebAssembly as the UI framework and MongoDB as the database provider. For other options, please change the preference on top of this document.
Create the Database
Connection String
Check the connection string in the appsettings.json file under the .HttpApi.Host project.
"ConnectionStrings": {
  "Default": "mongodb://localhost:27017/BookStore"
}
The solution is configured to use MongoDB in your local computer, so you need to have a MongoDB server instance up and running or change the connection string to another MongoDB server.
Seed Initial Data
The solution comes with a .DbMigrator console application which seeds the initial data. It is useful on development as well as on production environment.
.DbMigratorproject has its ownappsettings.json. So, if you have changed the connection string above, you should also change this one.
Right click to the .DbMigrator project and select Set as StartUp Project
Hit F5 (or Ctrl+F5) to run the application. It will have an output like shown below:
Initial seed data creates the
adminuser in the database (with the password is1q2w3E*) which is then used to login to the application. So, you need to use.DbMigratorat least once for a new database.
Run the Application
Running the HTTP API Host (Server Side)
Ensure that the .HttpApi.Host project is the startup project and run the application which will open a Swagger UI:
Use Ctrl+F5 in Visual Studio (instead of F5) to run the application without debugging. If you don't have a debug purpose, this will be faster.
You can see the application APIs and test them here. Get more info about the Swagger UI.
Running the Blazor Application (Client Side)
Ensure that the .Blazor project is the startup project and run the application.
Use Ctrl+F5 in Visual Studio (instead of F5) to run the application without debugging. If you don't have a debug purpose, this will be faster.
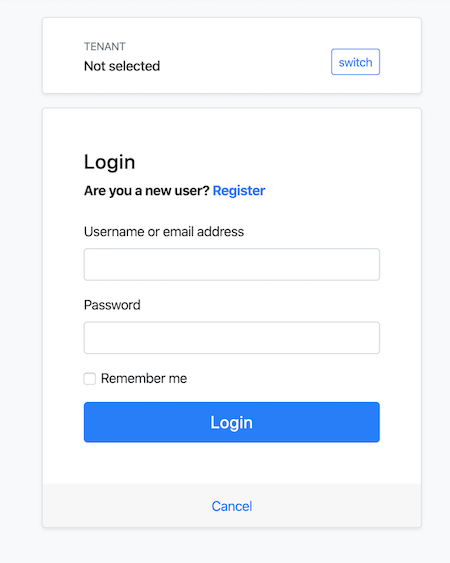
Once the application starts, click to the Login link on to header, which redirects you to the authentication server to enter a username and password:
Enter admin as the username and 1q2w3E* as the password to login to the application. The application is up and running. You can start developing your application based on this startup template.


