Getting Started
This tutorial assumes that you've already purchased an ABP Commercial license and have an active ABP Commercial account.
This document assumes that you prefer to use Blazor Server as the UI framework and MongoDB as the database provider. For other options, please change the preference on top of this document.
Create the Database
Connection String
Check the connection string in the appsettings.json file under the .Blazor project.
"ConnectionStrings": {
  "Default": "mongodb://localhost:27017/BookStore"
}
The solution is configured to use MongoDB in your local computer, so you need to have a MongoDB server instance up and running or change the connection string to another MongoDB server.
Seed initial data
The solution comes with a .DbMigrator console application which seeds the initial data. It is useful on development as well as on production environment.
.DbMigratorproject has its ownappsettings.json. So, if you have changed the connection string above, you should also change this one.
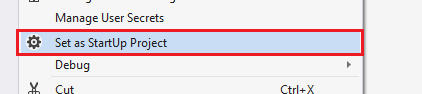
Right click to the .DbMigrator project and select Set as StartUp Project
Hit F5 (or Ctrl+F5) to run the application. It will have an output like shown below:
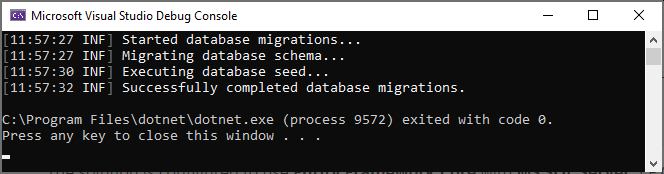
Initial seed data creates the
adminuser in the database (with the password is1q2w3E*) which is then used to login to the application. So, you need to use.DbMigratorat least once for a new database.
Before Running the Application
Installing the Client-Side Packages
ABP CLI runs the abp install-libs command behind the scenes to install the required NPM packages for your solution while creating the application. So, if you have created the application via ABP CLI or ABP Suite, you don't need to run this command manually.
However, sometimes this command might need to be manually run. For example, you need to run this command, if you have cloned the application, or the resources from node_modules folder didn't copy to wwwroot/libs folder, or if you have added a new client-side package dependency to your solution.
For such cases, run the abp install-libs command on the root directory of your solution to install all required NPM packages:
abp install-libs
We suggest you install Yarn to prevent possible package inconsistencies, if you haven't installed it yet.
Bundling and Minification
abp bundle command offers bundling and minification support for client-side resources (JavaScript and CSS files) for Blazor projects. This command automatically run when you create a new solution with the ABP CLI.
However, sometimes you might need to run this command manually. To update script & style references without worrying about dependencies, ordering, etc. in a project, you can run this command in the directory of your blazor application:
abp bundle
For more details about managing style and script references in Blazor or MAUI Blazor apps, see Managing Global Scripts & Styles.
Run the application
Note: When you create an ABP solution, the client-side packages are being restored by ABP CLI and Suite. But if you fetch the source-code that's commited by another team member, your
libsfolder will be empty. Before starting the application, runabp install-libscommand in your Web directory to restore the client-side libraries. This will populate thelibsfolder.
Important: The
.AuthServerapplication serves as the Authentication Server for the.Blazorapplication. It is essential to have the.AuthServerapplication running in the background to ensure the proper functioning of the.Blazorapplication.
To do this, open terminal in .AuthServer project folder and run the following command.
dotnet run
Once the .AuthServerapplication has started, it is time to run .HttpApi.Host application.
Important: Prior to launching the
.Blazorproject, it is essential to execute the.HttpApi.Hostapplication as well.
To do this, open terminal in .HttpApi.Host project folder and run the following command.
dotnet run
Once the .AuthServer and .HttpApi.Host applications has started, you can proceed to run the .Blazor project.
Ensure that the .Blazor project is the startup project. Run the application which will open the login page in your browser:
Use Ctrl+F5 in Visual Studio (instead of F5) to run the application without debugging. If you don't have a debug purpose, this will be faster.
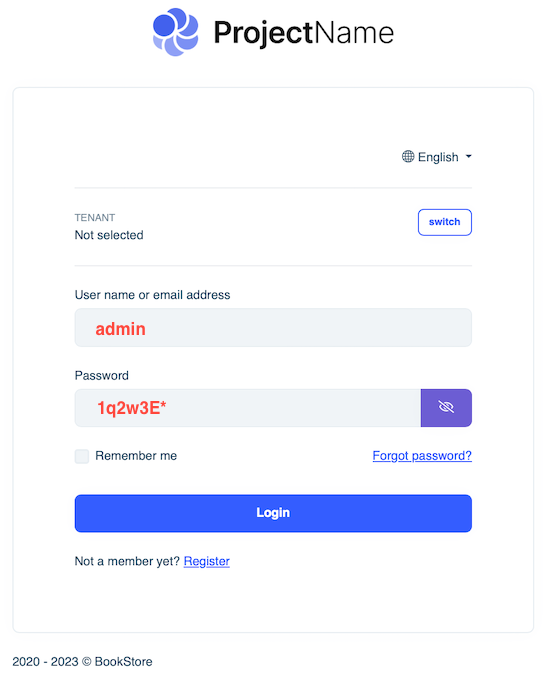
Enter admin as the username and 1q2w3E* as the password to login to the application.
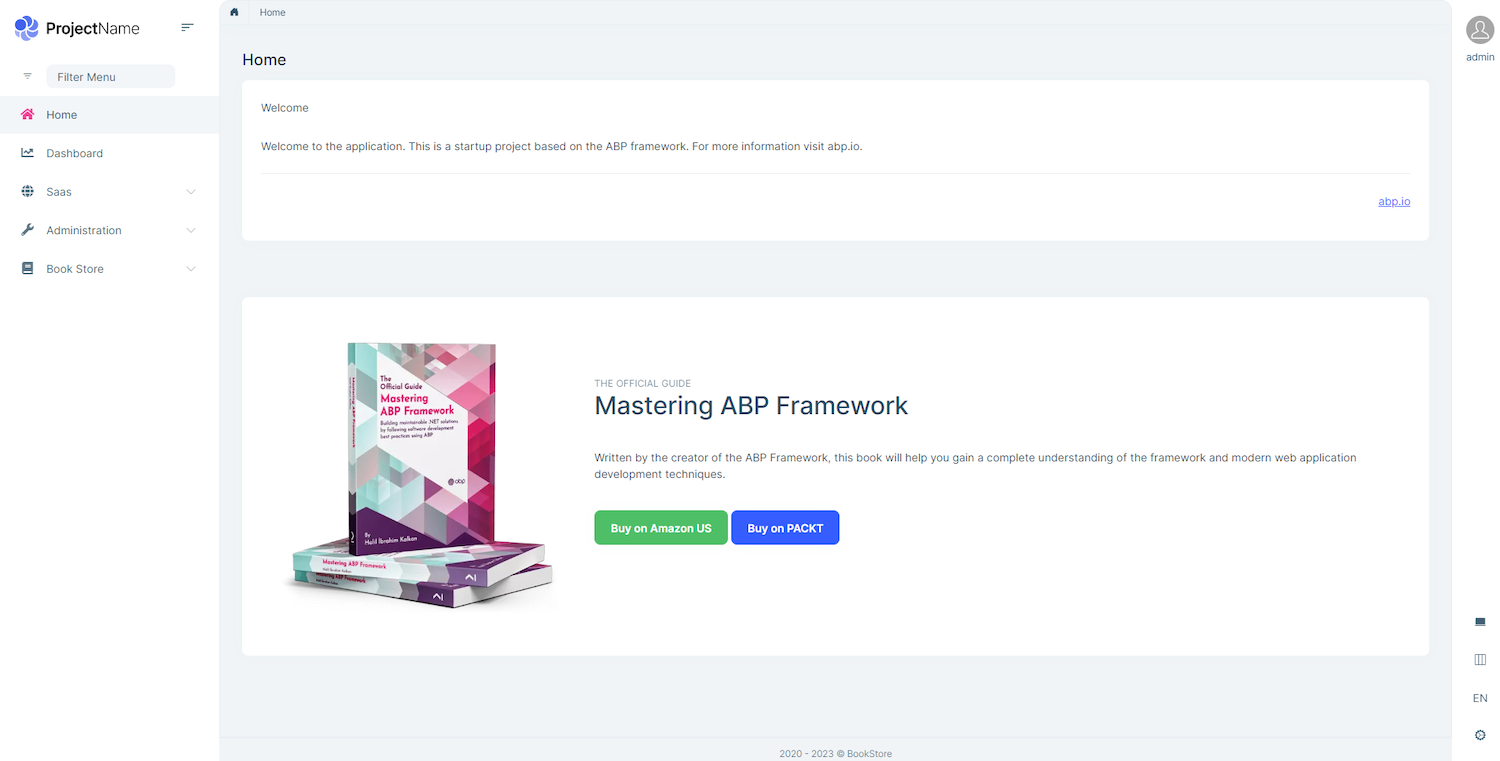
The application is up and running. You can start developing your application based on this startup template.
 08-09 May


