Getting Started With the ASP.NET Core MVC Template
This tutorial explains how to create a new ASP.NET Core MVC web application using the startup template, configure and run it.
Creating a New Project
This tutorial uses ABP CLI to create a new project. See the Get Started page for other options.
Install the ABP CLI using a command line window, if you've not installed before:
dotnet tool install -g Volo.Abp.Cli
Use abp new command in an empty folder to create your project:
abp new Acme.BookStore
You can use different level of namespaces; e.g. BookStore, Acme.BookStore or Acme.Retail.BookStore.
new command creates a layered MVC application with Entity Framework Core as the database provider. However, it has additional options. See the CLI documentation for all available options.
Pre Requirements
The created solution requires;
The Solution Structure
Open the solution in Visual Studio:
The solution has a layered structure (based on Domain Driven Design) and contains unit & integration test projects properly configured to work with EF Core & SQLite in-memory database.
See Application template document to understand the solution structure in details.
Database Connection String
Check the connection string in the appsettings.json file under the .Web project:
{
  "ConnectionStrings": {
    "Default": "Server=localhost;Database=BookStore;Trusted_Connection=True"
  }
}
The solution is configured to use Entity Framework Core with MS SQL Server. EF Core supports various database providers, so you can use another DBMS if you want. Change the connection string if you need.
Create Database & Apply Database Migrations
You have two options to create the database.
Using the DbMigrator Application
The solution contains a console application (named Acme.BookStore.DbMigrator in this sample) that can create database, apply migrations and seed initial data. It is useful on development as well as on production environment.
.DbMigratorproject has its ownappsettings.json. So, if you have changed the connection string above, you should also change this one.
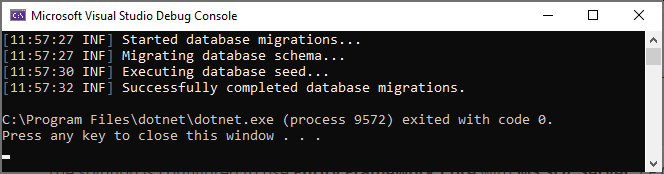
Right click to the .DbMigrator project and select Set as StartUp Project:

Hit F5 (or Ctrl+F5) to run the application. It will have an output like shown below:
Using EF Core Update-Database Command
Ef Core has Update-Database command which creates database if necessary and applies pending migrations. Right click to the .Web project and select Set as StartUp Project:
Open the Package Manager Console, select .EntityFrameworkCore.DbMigrations project as the Default Project and run the Update-Database command:

This will create a new database based on the configured connection string.
Using the
.Migratortool is the suggested way, because it also seeds the initial data to be able to properly run the web application.
Running the Application
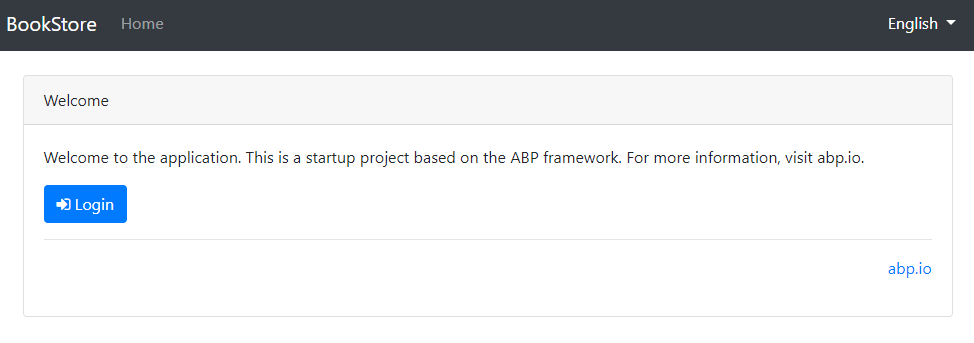
Ensure that the .Web project is the startup project. Run the application which will open the home page in your browser:
Click the Login button, enter admin as the username and 1q2w3E* as the password to login to the application.
The startup template includes the identity management and tenant management modules. Once you login, the Administration menu will be available where you can manage tenants, roles, users and their permissions. User management page is shown below:

 08-09 May


