Creating a Custom Payment Gateway
This document explains creating custom a payment gateway that's different than the existing ones in the Payment Module.
Creating Core Operations
Create MyPaymentGateway.cs and implement
IPaymentGatewaypublic class MyPaymentGateway : IPaymentGateway, ITransientDependency { private readonly IPaymentRequestRepository paymentRequestRepository; public MyPaymentGateway(IPaymentRequestRepository paymentRequestRepository) { this.paymentRequestRepository = paymentRequestRepository; } public async Task<PaymentRequestStartResult> StartAsync(PaymentRequest paymentRequest, PaymentRequestStartInput input) { var totalPrice = paymentRequest.Products.Sum(x => x.TotalPrice); var checkoutLink = // Some operations here return new PaymentRequestStartResult { CheckoutLink = checkoutLink + "returnUrl=" + input.ReturnUrl }; } public async Task<PaymentRequest> CompleteAsync(Dictionary<string, string> parameters) { var token = parameters["token"]; // You can get any parameter from your gateway provides. Example: token, id, hash etc. var result = ;// provider.Validate(token); Validate the payment here var paymentRequest = await paymentRequestRepository.FindAsync(result.Id); paymentRequest.SetState(PaymentRequestState.Completed); // completed or anything else according to your result. return paymentRequest; } public Task HandleWebhookAsync(string payload, Dictionary<string, string> headers) { // You can leave unimplemented if you not configure webhooks. throw new System.NotImplementedException(); } public bool IsValid(PaymentRequest paymentRequest, Dictionary<string, string> properties) { // You can check some custom logic here to make this gateway available or not. return true; } }You should configure your gateway in
PaymentOptionsConfigure<PaymentOptions>(options => { options.Gateways.Add(new PaymentGatewayConfiguration( "MyGateway", LocalizableString.Create<PaymentResource>("MyGateway"), isSubscriptionSupported: false, typeof(MyPaymentGateway) )); });
Creating the UI
There are 2 types of pages that are supported by default. You can define a pre-payment page and post-payment page.
Create PreCheckout.cshtml and PreCheckout.cshtml.cs
@model PreCheckoutModel

<h3>Pre Checkout</h3>
<form method="post">
    <button class="btn btn-success" asp-page-handler="ContinueToCheckout">
        Continue to Checkout
        <i class="fa fa-long-arrow-right"></i>
    </button>
</form>
public class PreCheckoutModel : AbpPageModel { [BindProperty] public Guid PaymentRequestId { get; set; } public virtual ActionResult OnGet() { // GET operation is not supported here. All the selected gateway requests will be sent as POST. return BadRequest(); } public virtual async Task OnPostAsync() { // You can get the payment request from the database by using `PaymentRequestId` and render something on the UI side. } public virtual async Task<IActionResult> OnPostContinueToCheckout() { return Redirect("the-actual-checkout-link-of-gateway"); } }Create PostCheckout.cshtml and PostCheckout.cshtml.cs
@model PostCheckoutModel

<h3>Operation Done</h3>
Configure your pages in
PaymentWebOptionsConfigure<PaymentWebOptions>(options => { options.Gateways.Add(new PaymentGatewayWebConfiguration( name: "MyGateway", prePaymentUrl: "/MyGateway/PreCheckout", // This page will be opened before checkout. isSubscriptionSupported: false, postPaymentUrl: "/MyGateway/PostCheckout" // This page will be opened after checkout. )); });
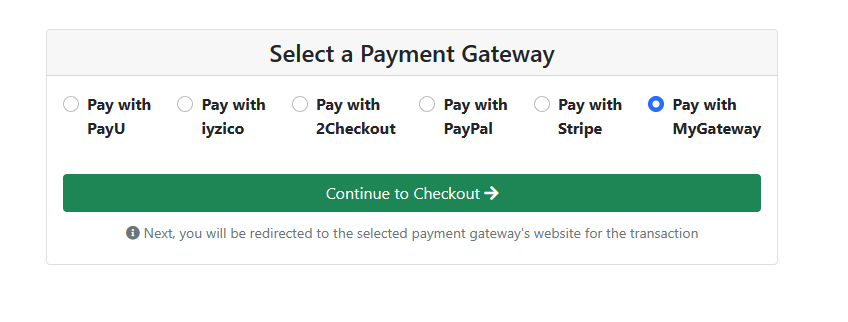
Your custom gateway will be listed in the public payment gateway selection page. If there is only one payment gateway, this page will be skipped.
 08-09 May


