Provisioning an Azure Web App using Terraform
In this tutorial, we'll walk through the steps to provision an Azure Web App using Terraform. Terraform is an open-source infrastructure as a code tool that allows you to define and manage your infrastructure in a declarative way.
Prerequisites
Before you begin, you'll need the following:
- Azure account
- Terraform installed on your local machine
- Azure CLI installed on your local machine
Creating a Service Principal for Terraform in Azure
When working with Terraform on Azure, you'll need a "Service Principal" for authentication. A "Service Principal" is an identity created to be used with applications, hosted services, and automated tools to access Azure resources.
To create a service principal, run the following command in the Azure CLI:
Login to Azure CLI
Before you begin, make sure you are logged into your Azure account with the Azure CLI:
az loginSet your Subscription:
If you have multiple Azure subscriptions, specify the one you intend to use:
az account set --subscription="YOUR_SUBSCRIPTION_ID"Create the Service Principal:
The following command will create a service principal. Replace YOUR_APP_NAME with a suitable name for your application:
az ad sp create-for-rbac --name "YOUR_APP_NAME" --role contributor --scopes /subscriptions/YOUR_SUBSCRIPTION_IDReplace
YOUR_SUBSCRIPTION_IDwith your subscription id.The output of this command will provide the appId, displayName, name, password, and tenant. It's crucial to note these values, especially appId (Client ID) and password (Client Secret), as you'll need them for Terraform authentication.
Specify the service principal credentials in environment variables
bash:
export ARM_SUBSCRIPTION_ID="<azure_subscription_id>"
export ARM_TENANT_ID="<azure_subscription_tenant_id>"
export ARM_CLIENT_ID="<service_principal_appid>"
export ARM_CLIENT_SECRET="<service_principal_password>"
To execute the ~/.bashrc script, run source ~/.bashrc (or its abbreviated equivalent . ~/.bashrc). You can also exit and reopen Cloud Shell for the script to run automatically. Run the following bash command to verify the Azure environment variables:
. ~/.bashrcpowershell:
$env:ARM_SUBSCRIPTION_ID="<azure_subscription_id>"
$env:ARM_TENANT_ID="<azure_subscription_tenant_id>"
$env:ARM_CLIENT_ID="<service_principal_appid>"
$env:ARM_CLIENT_SECRET="<service_principal_password>"
Run the following PowerShell command to verify the Azure environment variables:
gci env:ARM_*Replace the values with your own.
Creating a Terraform Configuration
Create a new directory for your Terraform configuration files.
Create a new file named
main.tfin the directory and add the following code:# Configure the Azure provider terraform { required_providers { azurerm = { source = "hashicorp/azurerm" version = "~> 3.0.0" } } required_version = ">= 0.14.9" } provider "azurerm" { features {} } # Create the resource group resource "azurerm_resource_group" "rg" { name = "demo-abp-web-app" location = "westeurope" } # Create the Linux App Service Plan resource "azurerm_service_plan" "appserviceplan" { name = "demo-abp-web-app-plan" location = azurerm_resource_group.rg.location resource_group_name = azurerm_resource_group.rg.name os_type = "Linux" sku_name = "B1" } # Create the web app, pass in the App Service Plan ID resource "azurerm_linux_web_app" "webapp" { name = "demo-abp-web-app" location = azurerm_resource_group.rg.location resource_group_name = azurerm_resource_group.rg.name service_plan_id = azurerm_service_plan.appserviceplan.id https_only = true site_config { application_stack { dotnet_version = "6.0" } minimum_tls_version = "1.2" } } output "webappurl" { value = "${azurerm_linux_web_app.webapp.name}.azurewebsites.net" }Run
terraform initto initialize the directory.Run
terraform planto see the execution plan.Run
terraform applyto apply the changes. Writeyeswhen prompted to confirm the deployment.Wait for the deployment to complete.
Navigate to the web app URL to see the deployed application.
You can also see the web app URL in the output of the
terraform applycommand.
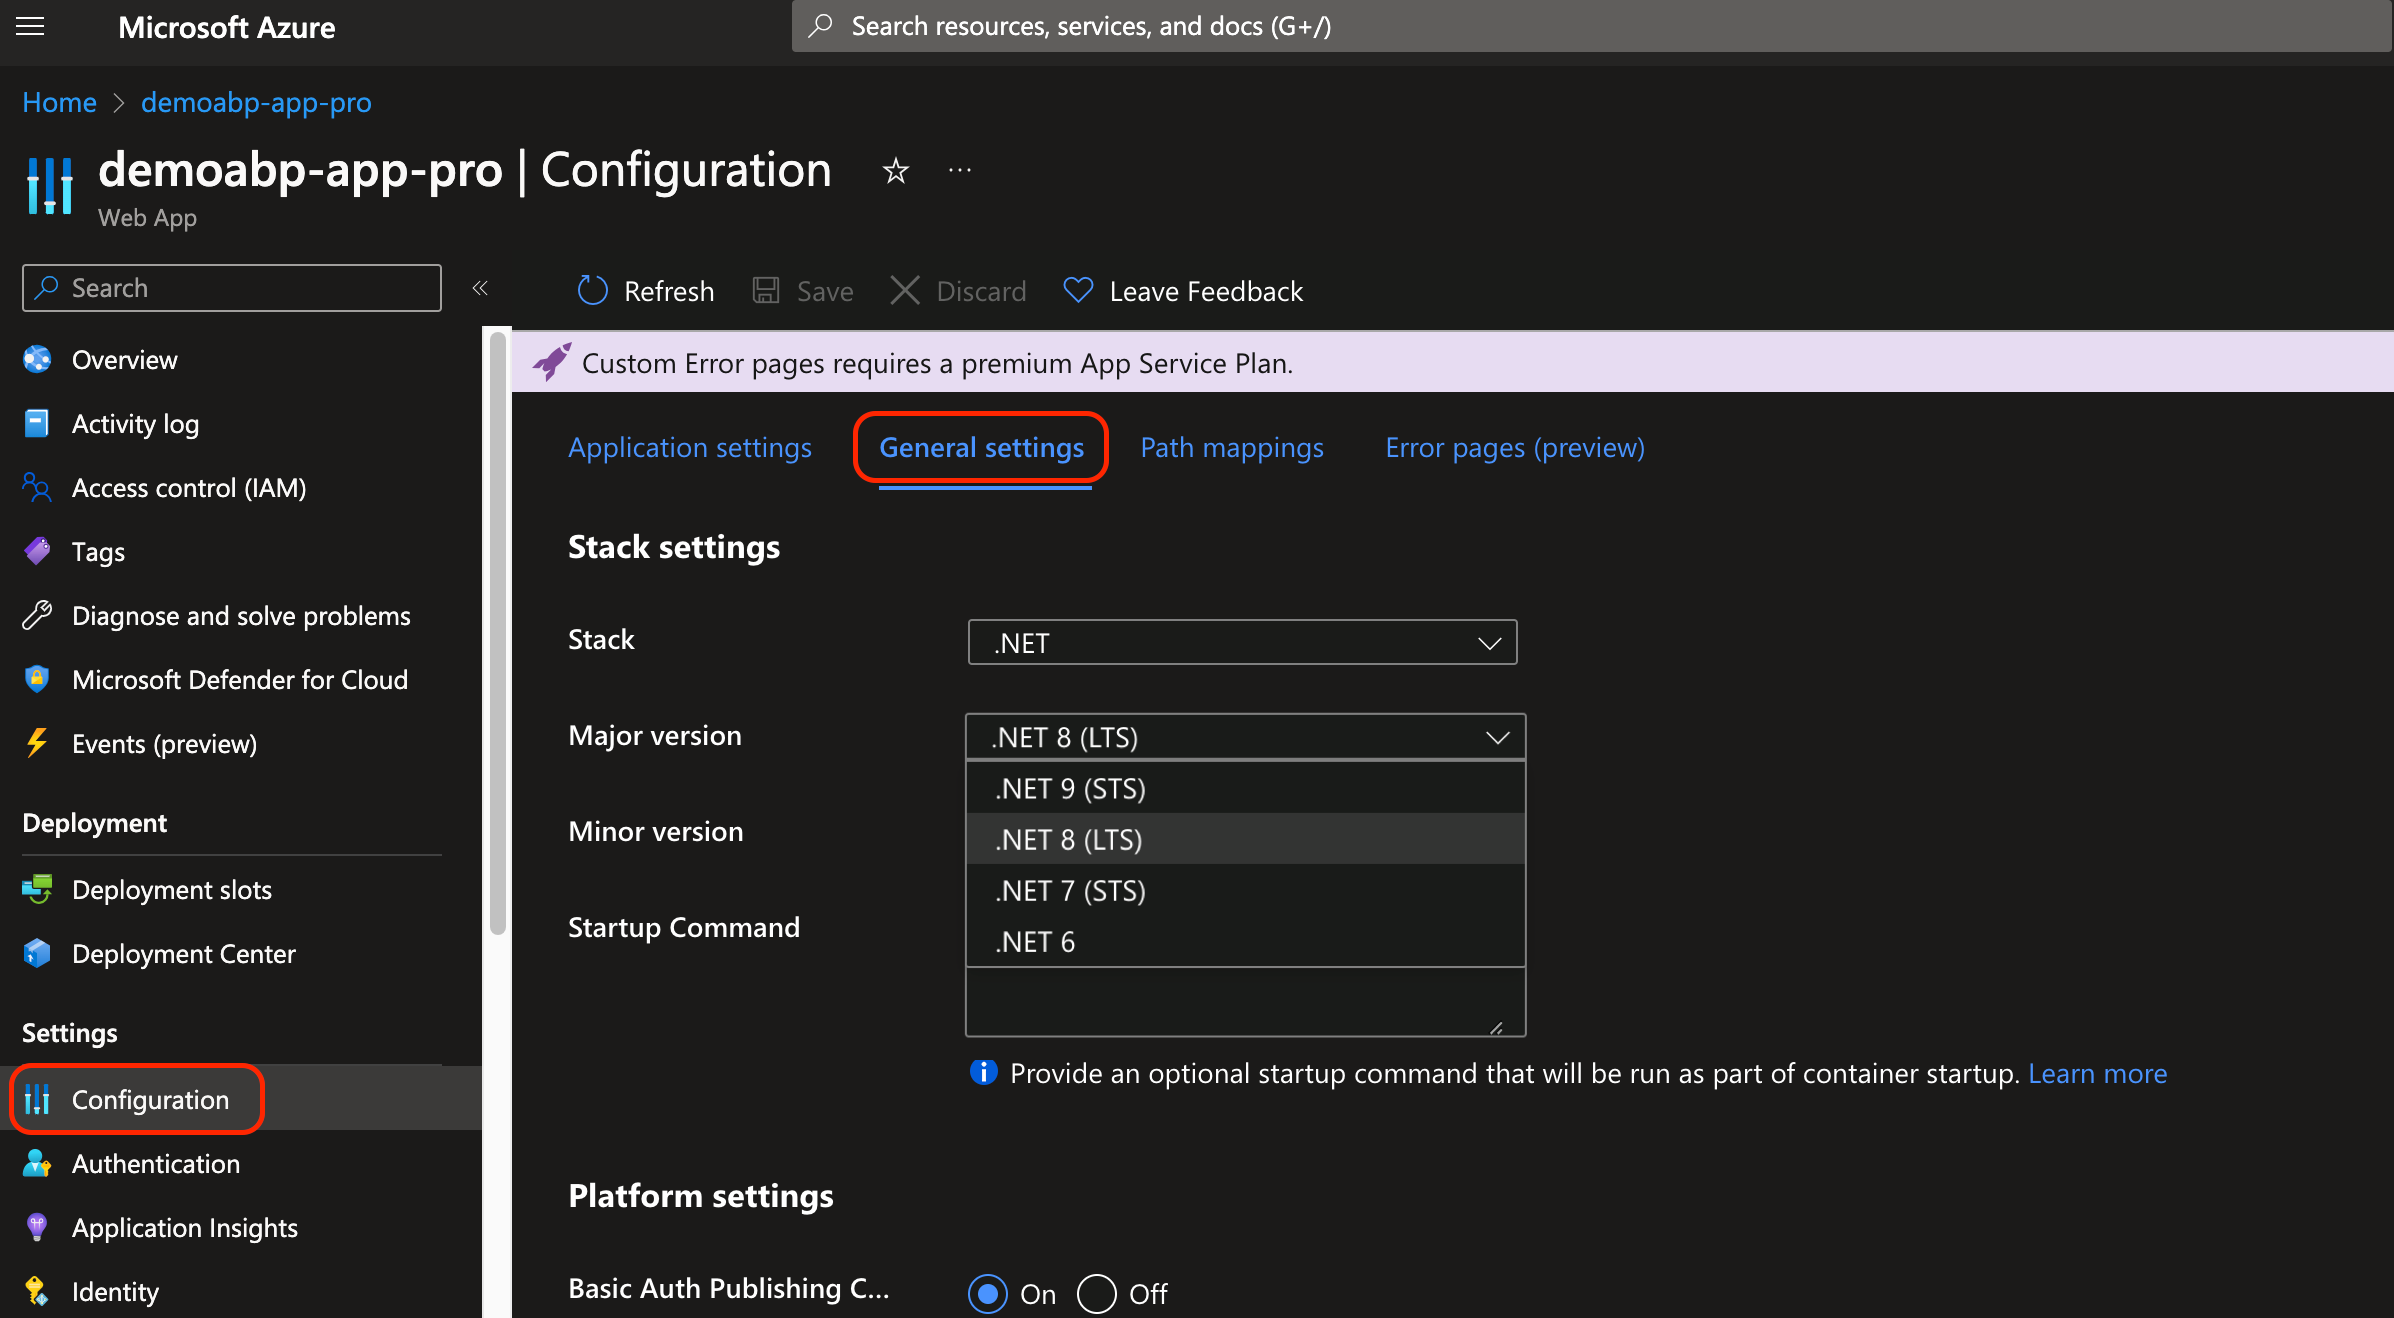
You have to change the dotnet version of the runtime stack according to your application. For example, if you are using .NET 7, you should change
dotnet_version = "6.0"todotnet_version = "7.0".
Destroying the Terraform Configuration
Run
terraform destroyto destroy the created resources.Type
yeswhen prompted to confirm the destruction.
 08-09 May


