Quick Start: Creating a Single Layer Web Application with ABP Studio
Welcome to ABP Studio. In this quick start guide, you will learn how to create and run a single layer web application using ABP Studio.
Creating a New Solution
Assuming that you have installed and logged in to the application, you should see the following screen when you open ABP Studio:
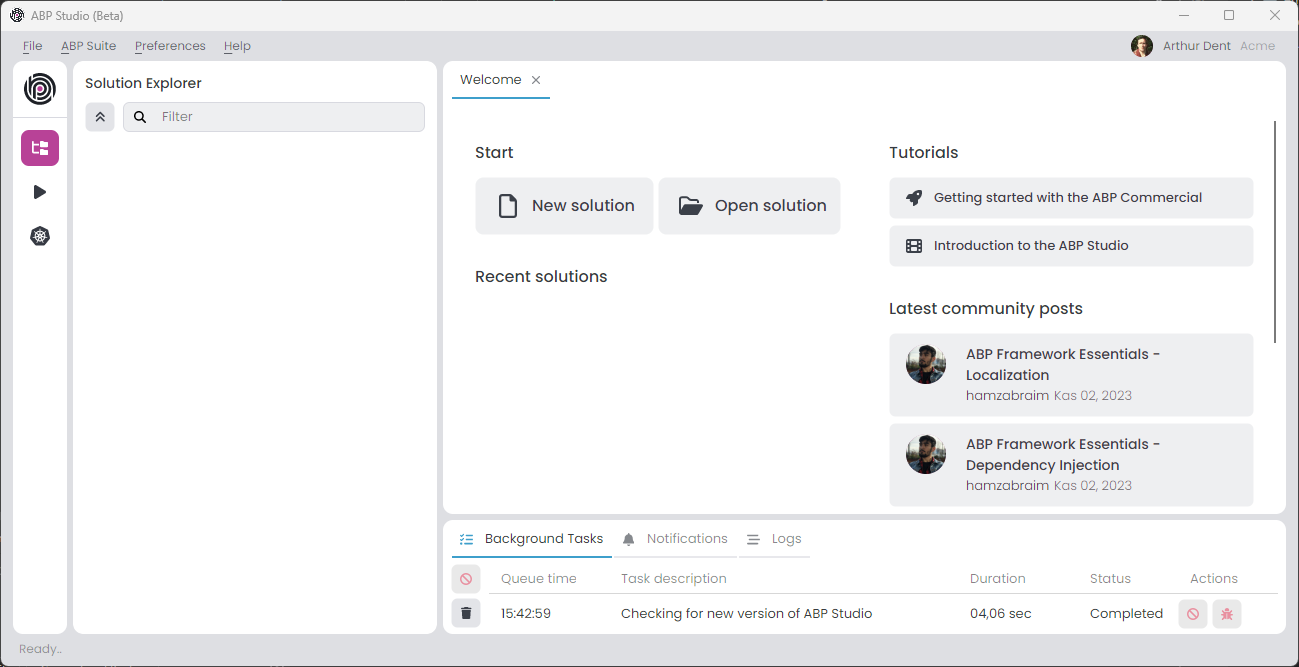
Select the File -> New Solution in the main menu, or click the New solution button on the Welcome screen to open the Create new solution wizard:
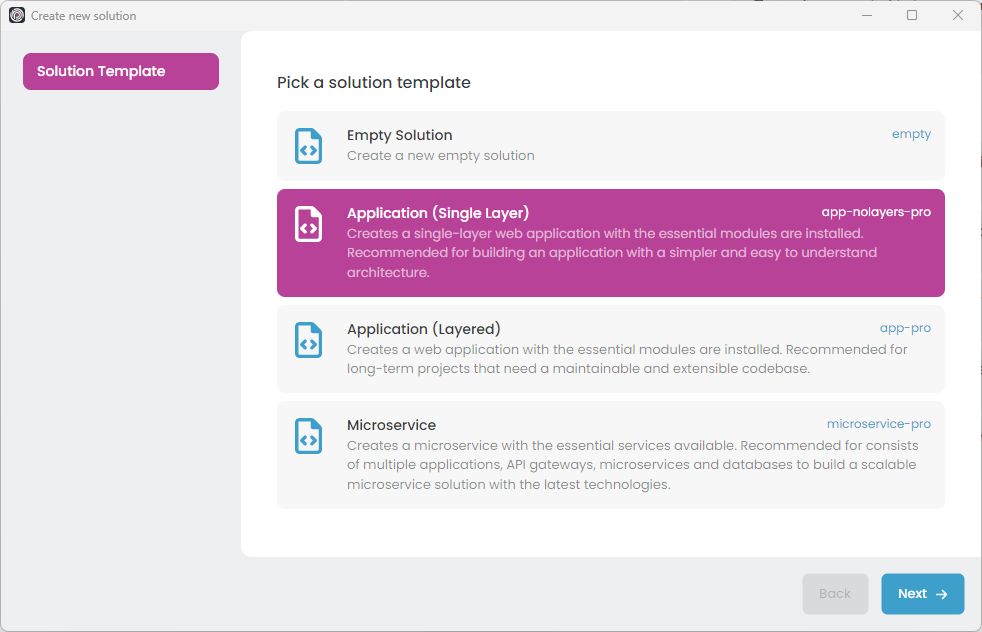
We will use the Application (Single Layer) solution template for this tutorial, so pick it and click the Next button:
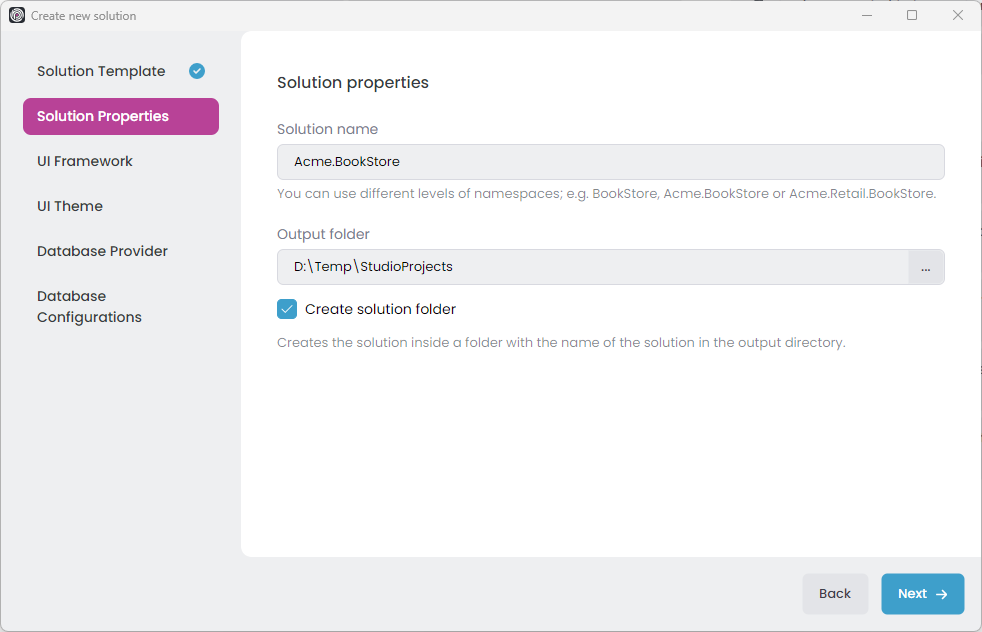
On that screen, you choose a name for your solution. You can use different levels of namespaces; e.g. BookStore, Acme.BookStore or Acme.Retail.BookStore.
Then select an output folder to create your solution. The Create solution folder option will create a folder in the given output folder with the same name of your solution.
Once your configuration is done, click the Next button to navigate to the UI Framework selection:
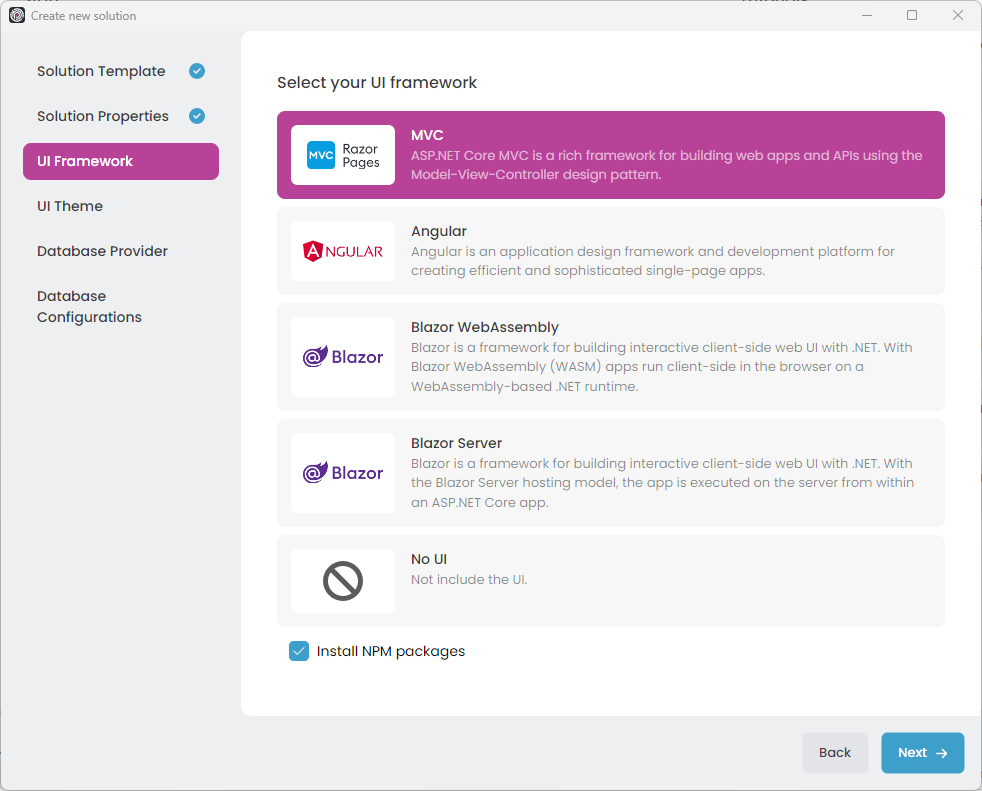
Here, you see all the possible UI options supported by that startup solution template. Pick the MVC / Razor Pages.
Notice that; Once you select a UI type, some additional options will be available under the UI Framework list. You can further configure the options or leave them as default and click the Next button for the UI Theme selection screen:
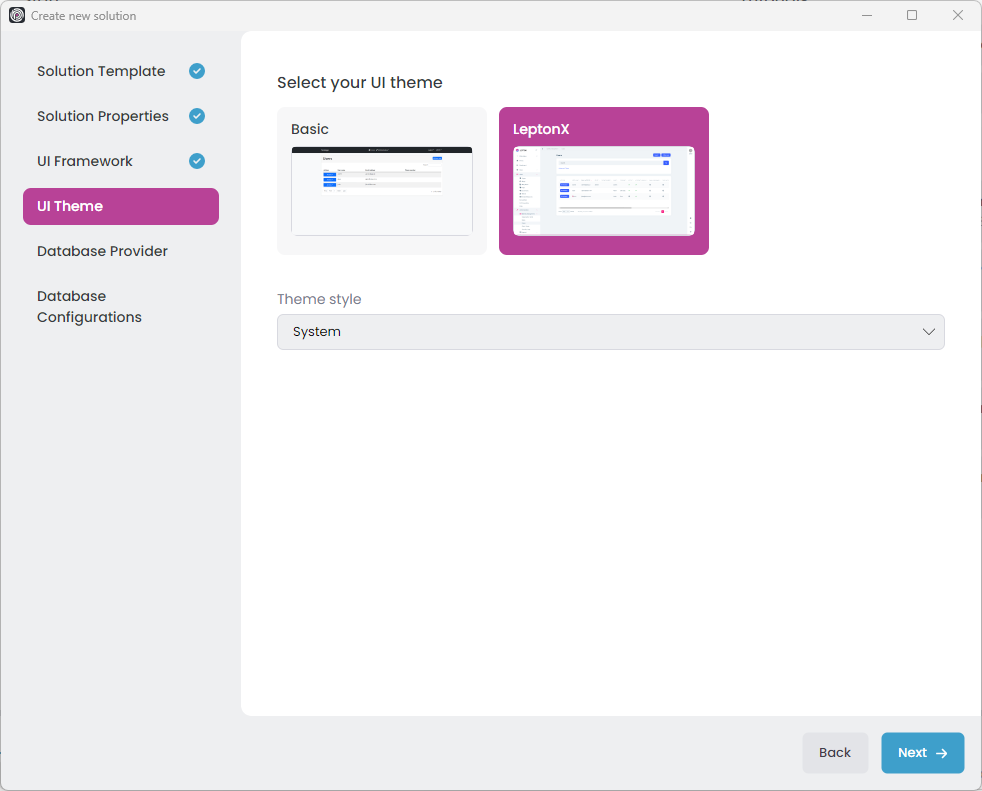
LeptonX is the suggested UI theme that is proper for production usage. Select one of the themes, configure the additional options, and click the Next button for the Database Provider selection:
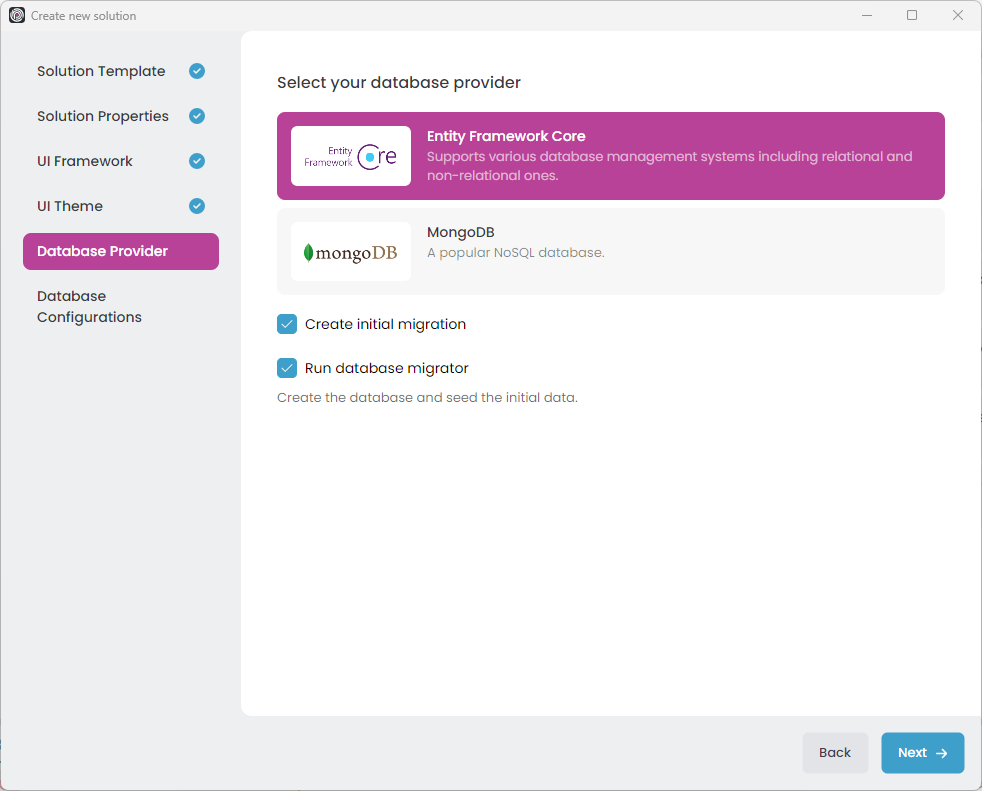
On that screen, you can decide on your database provider by selecting one of the provided options. There are some additional options for each database provider. Leave them as default or change them based on your preferences, then click the Next button for additional Database Configurations:
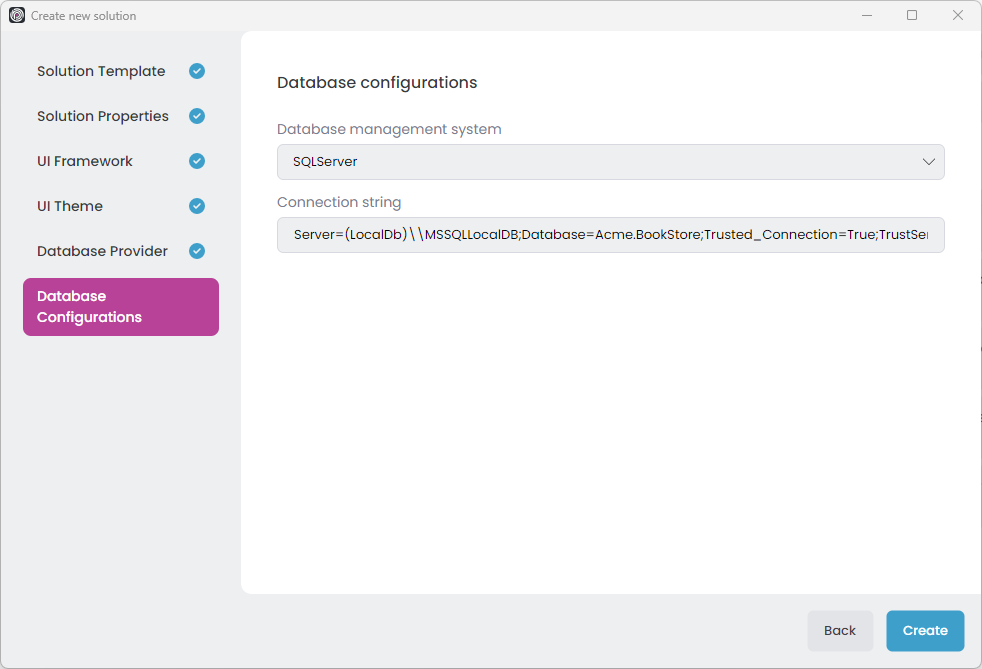
Here, you can select the database management systems (DBMS) and the connection string. Now, we are ready to allow ABP Studio to create our solution. Just click the Create button and let the ABP Studio do the rest for you.
After clicking the Create button, the dialog is closed and your solution is loaded into ABP Studio:
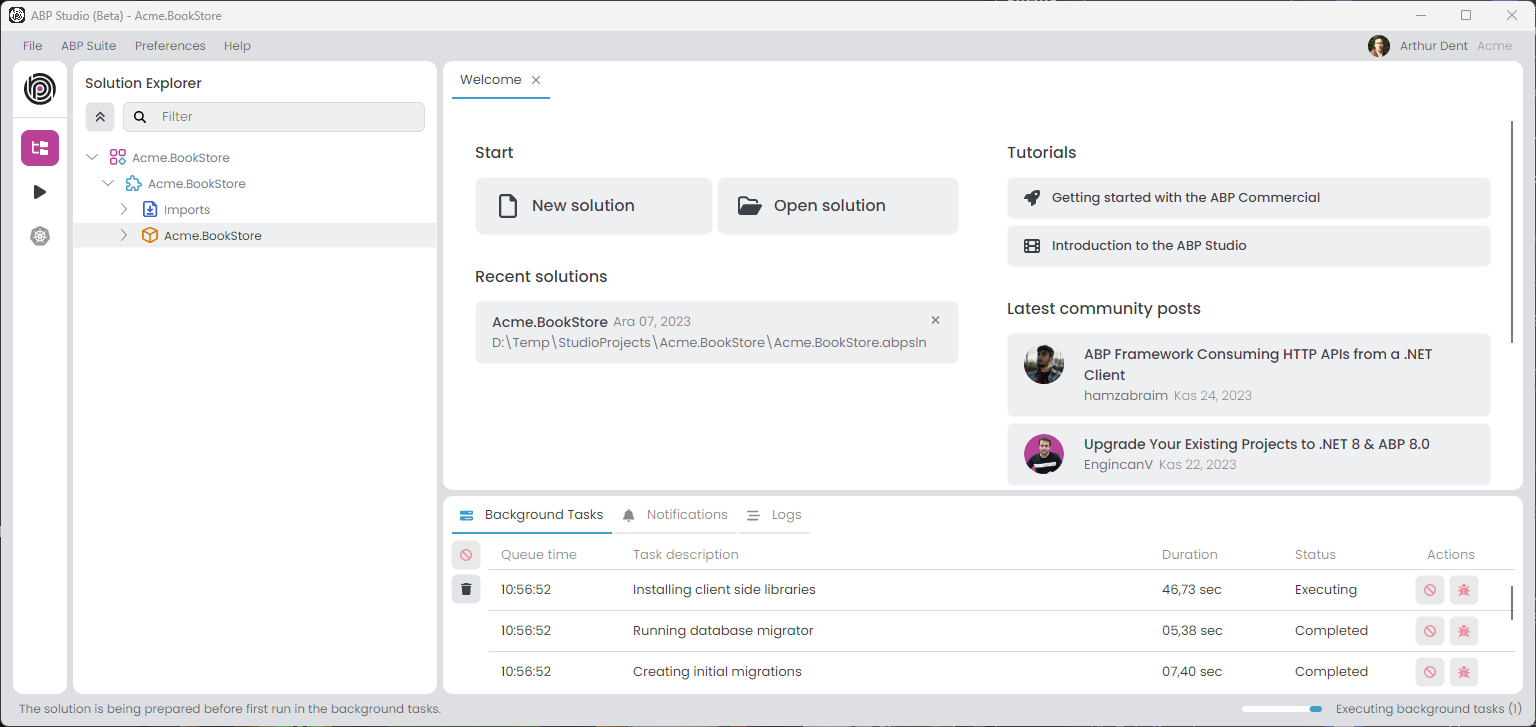
You can explore the solution, but you need to wait for background tasks to be completed before running any application in the solution.
Running the Application
After creating your solution, you can open it in your favorite IDE (e.g. Visual Studio, Visual Studio Code or Rider) and start your development. However, ABP Studio provides a Solution Runner system. You can use it to easily run and browse your applications in your solution without needing an external tool.
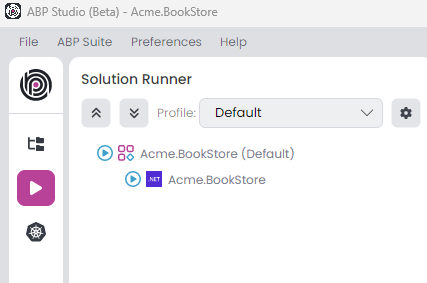
Open the Solution Runner section on the left side of ABP Studio as shown in the following figure:
The solution runner structure can be different in your case based on the options you've selected.
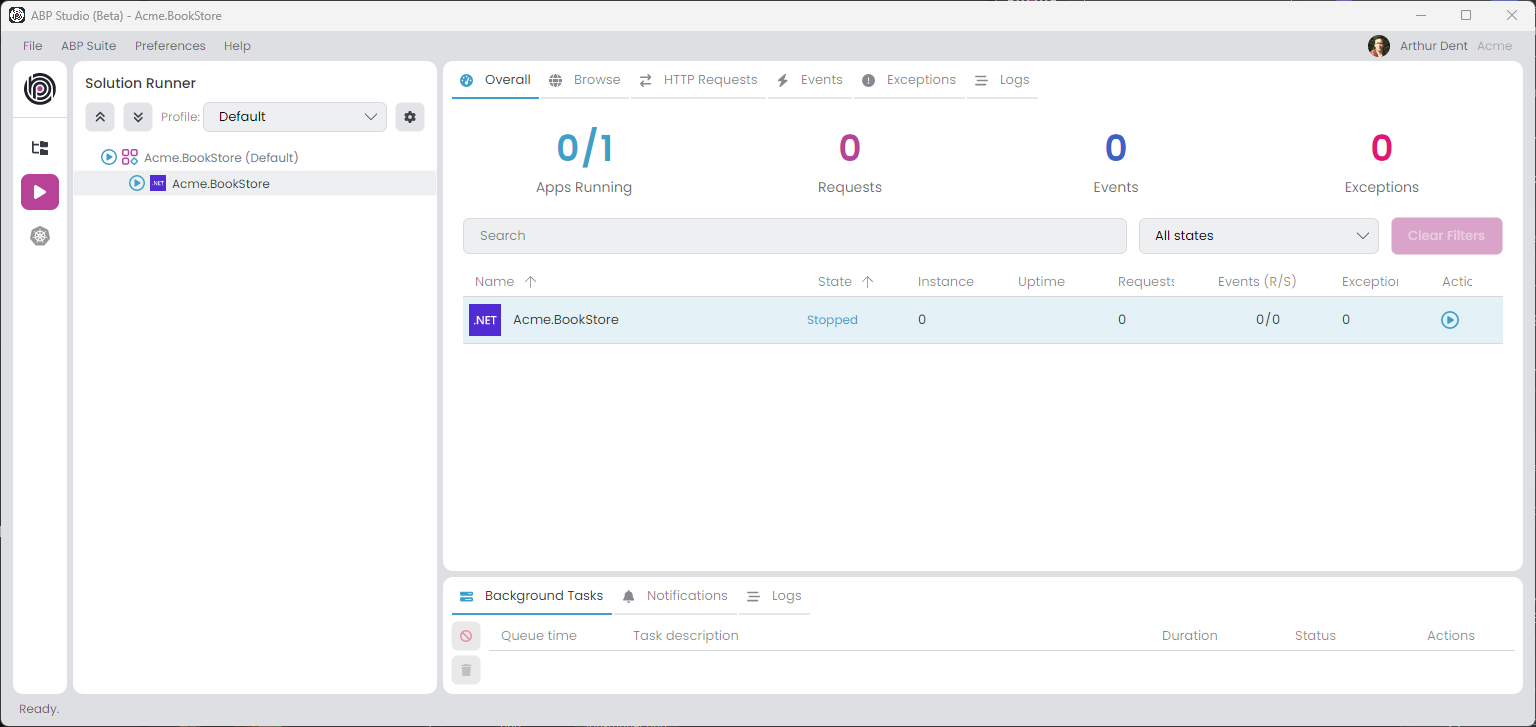
Once you click the Play icon on the left side, the section is open in the same place as the Solution Explorer section. ABP Studio also opens the Application Monitor view on the main content area. Application Monitor shows useful insights for your applications (e.g. HTTP Request, Events, and Exceptions) in real-time. You can use it to see the happenings in your applications, so you can easily track errors and many helpful details.
In the Solution Runner section (on the left side) you can see all the runnable applications in the current solution. For the MVC website example, we have only one application:
To start an application, either click the Play icon near to the application or right-click and select the Run -> Start context menu item.
For the first run, you'll need to build the application. You can achieve this by selecting Run -> Build & Start from the context menu.
You can start the Acme.BookStore.
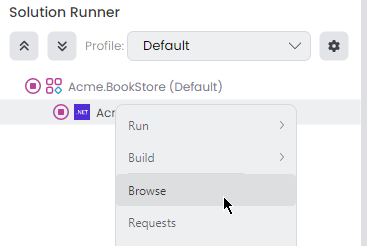
Once the Acme.BookStore application started, you can right-click it and select the Browse command:
The Browse command opens the UI of the web application in the built-in browser:
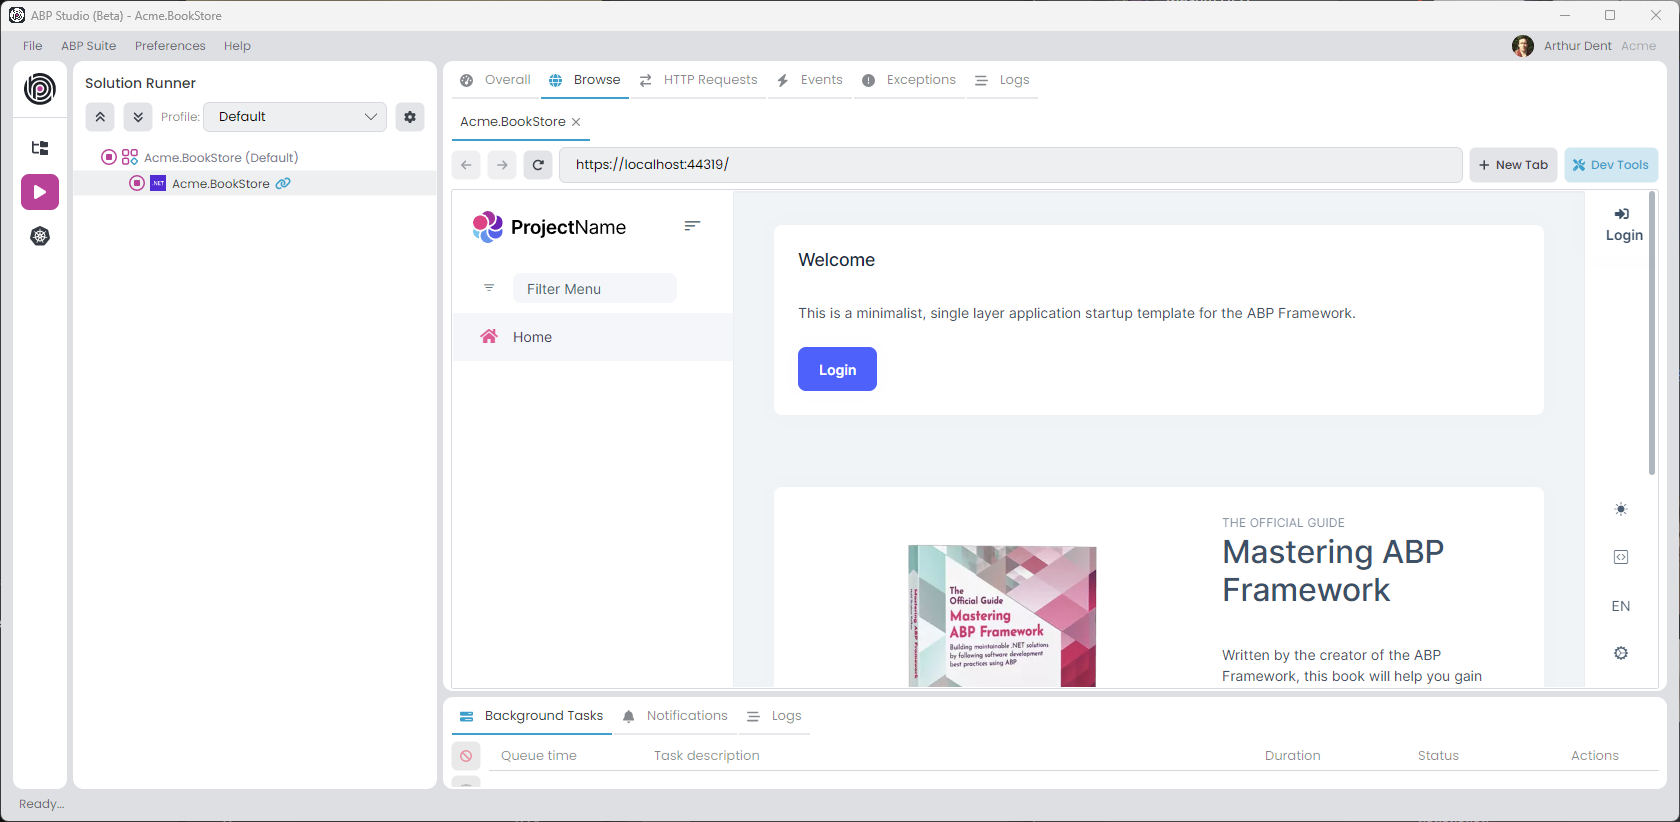
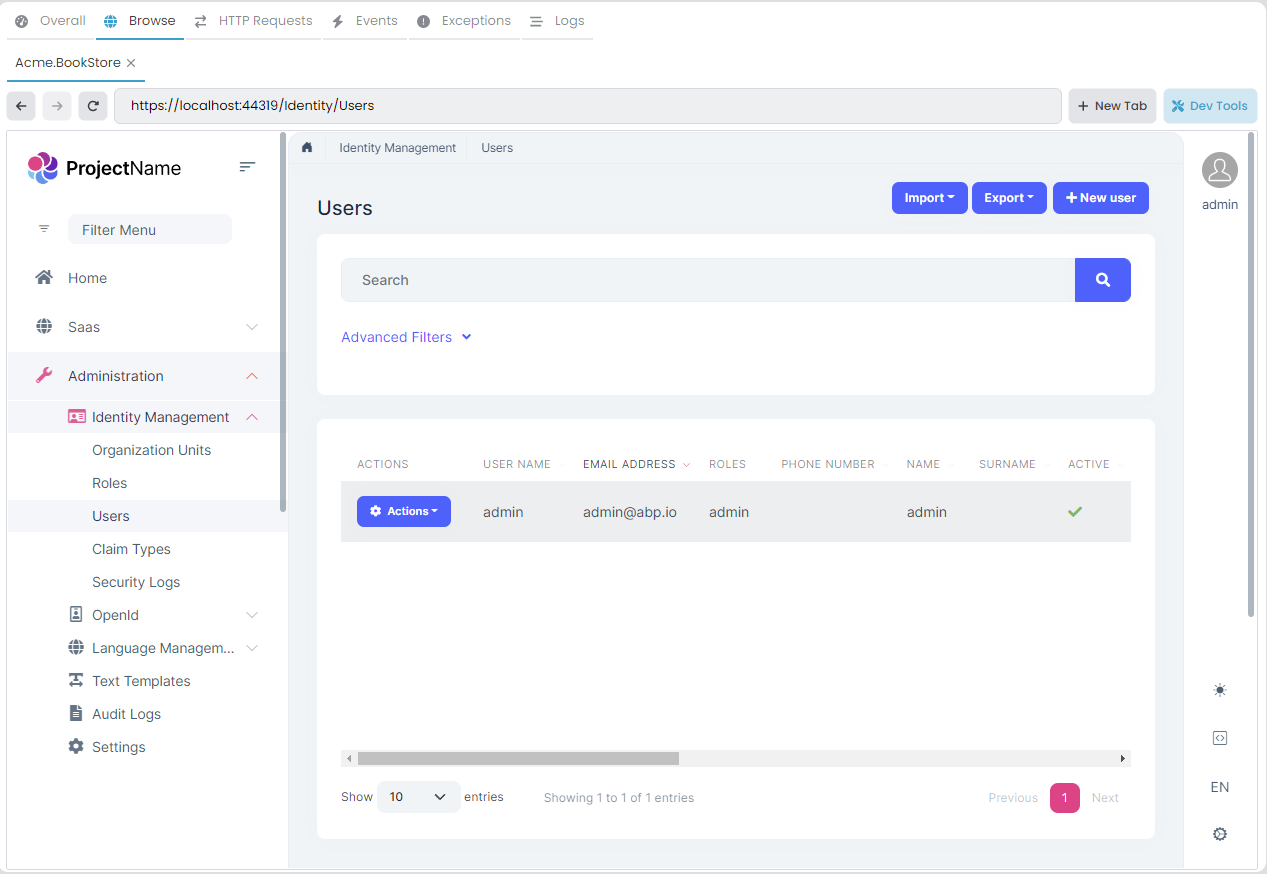
You can browse your application in a full-featured web browser in ABP Studio. Click the Login button in the application UI, enter admin as username and 1q2w3E* as password to login to the application.
The following screenshot was taken from the User Management page of the Identity module that is pre-installed in the application:
Open the Solution in Visual Studio
You can use any IDE (e.g. Visual Studio, Visual Studio Code or Rider) to develop your solution. Here, we will show Visual Studio as an example.
First of all, we can stop the application(s) in ABP Studio, so it won't conflict when we run it in Visual Studio.
You can use ABP Studio to open the solution with Visual Studio. Right-click to the Acme.BookStore module, and select the Open with -> Visual Studio command:
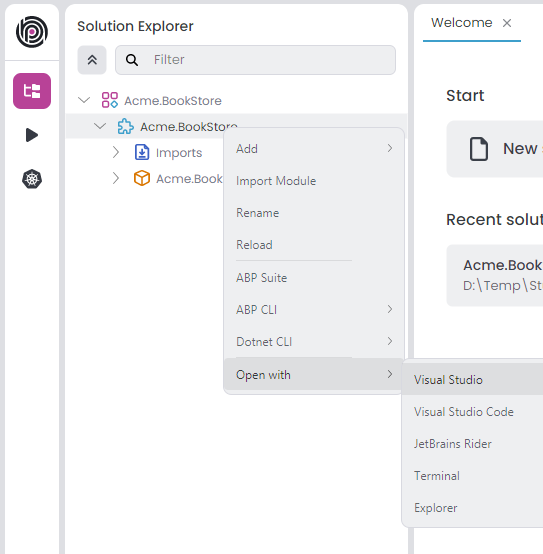
If the Visual Studio command is not available, that means ABP Studio could not detect it on your computer. You can open the solution folder in your local file system (you can use the Open with -> Explorer as a shortcut) and manually open the solution in Visual Studio.
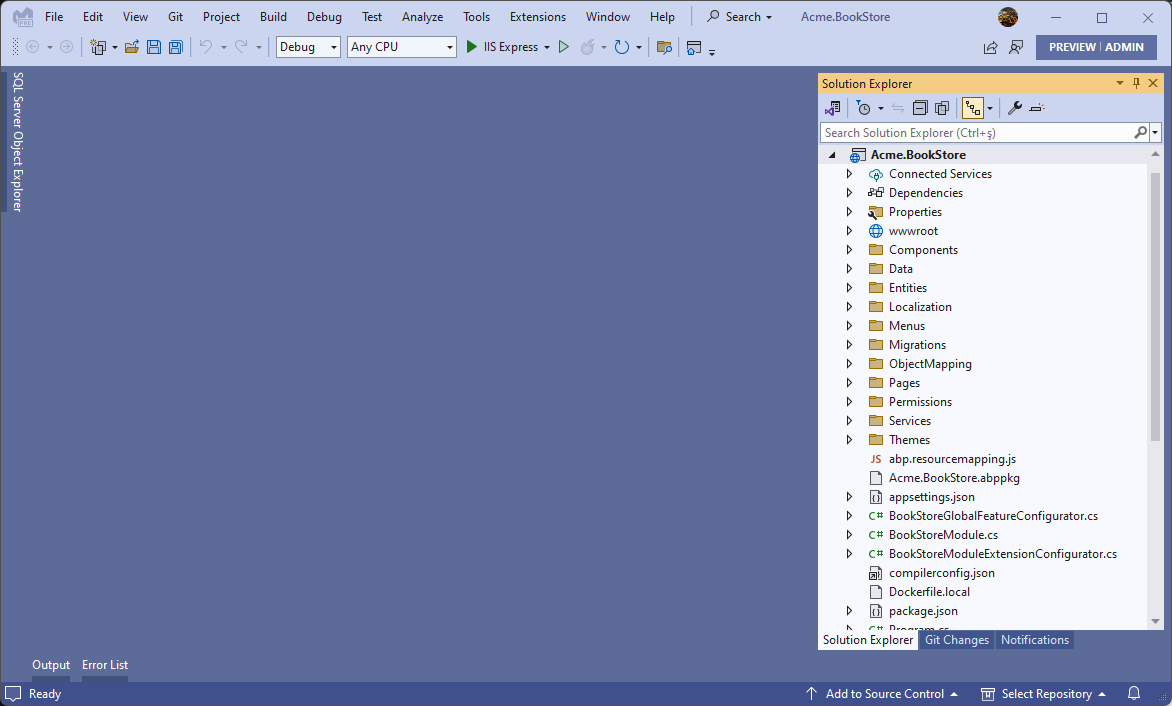
Once the solution is opened in Visual Studio, you should see a screen like shown below:
The solution structure can be different in your case based on the options you've selected.
You can then hit F5 or Ctrl + F5 to run the web application. It will run and open the application UI in your default browser:

You can use admin as username and 1q2w3E* as default password to login to the application.
 08-09 May


