Docker Deployment using Docker Compose
This document assumes that you prefer to use Blazor WebAssembly as the UI framework and MongoDB as the database provider. For other options, please change the preference at the top of this document.
This guide will guide you through how to build docker images for your application and run on localhost using docker compose. You will learn the provided build scripts and docker compose files in detail and how to modify them for the production environment.
Building Docker Images
Each application contains a dockerfile called Dockerfile.local for building the docker image. As the naming implies, these Dockerfiles are not multi-stage Dockerfiles and require the project to be built in Release mode to create the image. Currently, if you are building your images using CI & CD pipeline, you either need to include the SDK to your pipeline before building the images or add your own multi-stage dockerfiles.
Since they are not multi-staged Dockerfiles, if you want to build the images individually, you can navigate to the related to-be-hosted application folder and run the following command:
dotnet publish -c Release
To populate the Release folder first, which will be used to build the docker images. Afterward, you can run the following command:
docker build -f Dockerfile.local -t mycompanyname/myappname:version .
To manually build your application image.
To ease the process, application templates provide a build script to build all the images with a single script under etc/build folder named build-images-locally.ps1.
Based on your application name, UI and type, a build image script will be generated.
param ($version='latest')

$currentFolder = $PSScriptRoot
$slnFolder = Join-Path $currentFolder "../../"

Write-Host "********* BUILDING DbMigrator *********" -ForegroundColor Green
$dbMigratorFolder = Join-Path $slnFolder "src/Acme.BookStore.DbMigrator"
Set-Location $dbMigratorFolder
dotnet publish -c Release
docker build -f Dockerfile.local -t acme/bookstore-db-migrator:$version .

Write-Host "********* BUILDING Blazor Application *********" -ForegroundColor Green
$blazorFolder = Join-Path $slnFolder "src/Acme.BookStore.Blazor"
Set-Location $blazorFolder
dotnet publish -c Release -p:PublishTrimmed=false
docker build -f Dockerfile.local -t acme/bookstore-blazor:$version .

Write-Host "********* BUILDING Api.Host Application *********" -ForegroundColor Green
$hostFolder = Join-Path $slnFolder "src/Acme.BookStore.HttpApi.Host"
Set-Location $hostFolder
dotnet publish -c Release
docker build -f Dockerfile.local -t acme/bookstore-api:$version .

### ALL COMPLETED
Write-Host "COMPLETED" -ForegroundColor Green
Set-Location $currentFolder
The image tag is set to latest by default. You can update the param $version at the first line to set it as a tag for your images.
You can examine all the provided Dockerfiles required to publish your application below;
DBMigrator
DbMigrator is a console application that is used to migrate the database of your application and seed the initial important data to run your application. Such as pre-defined languages, admin user and role, OpenIddict applications and scopes.
Dockerfile.local is provided under this project as below;
FROM mcr.microsoft.com/dotnet/aspnet:7.0
COPY bin/Release/net7.0/publish/ app/
WORKDIR /app
ENTRYPOINT ["dotnet", "BookStore.DbMigrator.dll"]
If you don't want to use the build-images-locally.ps1 to build the images or to build this image individually and manually, navigate to DbMigrator folder and run:
dotnet publish -c Release #Builds the projects in Release mode
docker build -f Dockerfile.local -t acme/bookstore-db-migrator:latest . #Builds the image with "latest" tag
Blazor
The Blazor application uses nginx:alpine-slim base image to host the blazor application. You can modify the base image based on your preference in the Dockerfile.local which provided under the Blazor folder of your solution as below;
FROM mcr.microsoft.com/dotnet/aspnet:7.0 AS build
COPY bin/Release/net7.0/publish/ app/

FROM nginx:alpine-slim AS final
WORKDIR /usr/share/nginx/html
COPY --from=build /app/wwwroot .
COPY /nginx.conf  /etc/nginx/conf.d/default.conf
Other than the built Blazor application, there is also nginx.conf file is copied into the application image. The nginx.conf file:
server {
    listen       80;
    listen  [::]:80;
    server_name  _;

    #listen              443 ssl;
    #server_name         www.myapp.com;
    #ssl_certificate     www.myapp.com.crt;
    #ssl_certificate_key www.myapp.com.key;

	location / {
        root   /usr/share/nginx/html;
        index  index.html index.htm;
        try_files $uri $uri/ /index.html =404;
	}
    #error_page  404              /404.html;

    # redirect server error pages to the static page /50x.html
    error_page   500 502 503 504  /50x.html;
    location = /50x.html {
        root   /usr/share/nginx/html;
    }
}
If you don't want to use the build-images-locally.ps1 to build the images or to build this image individually and manually, navigate to Blazor folder and run:
##Builds the projects in Release mode with the Trimming option disabled. You can enable or configure it as you like
dotnet publish -c Release -p:PublishTrimmed=false
docker build -f Dockerfile.local -t acme/bookstore-blazor:latest . #Builds the image with "latest" tag
Http.Api.Host
This is the backend application that contains the OpenID-provider functionality as well. The dockerfile.local is located under the Http.Api.Host project as below;
FROM mcr.microsoft.com/dotnet/aspnet:7.0 AS base
COPY bin/Release/net7.0/publish/ app/
WORKDIR /app
FROM mcr.microsoft.com/dotnet/sdk:7.0 AS build
WORKDIR /src
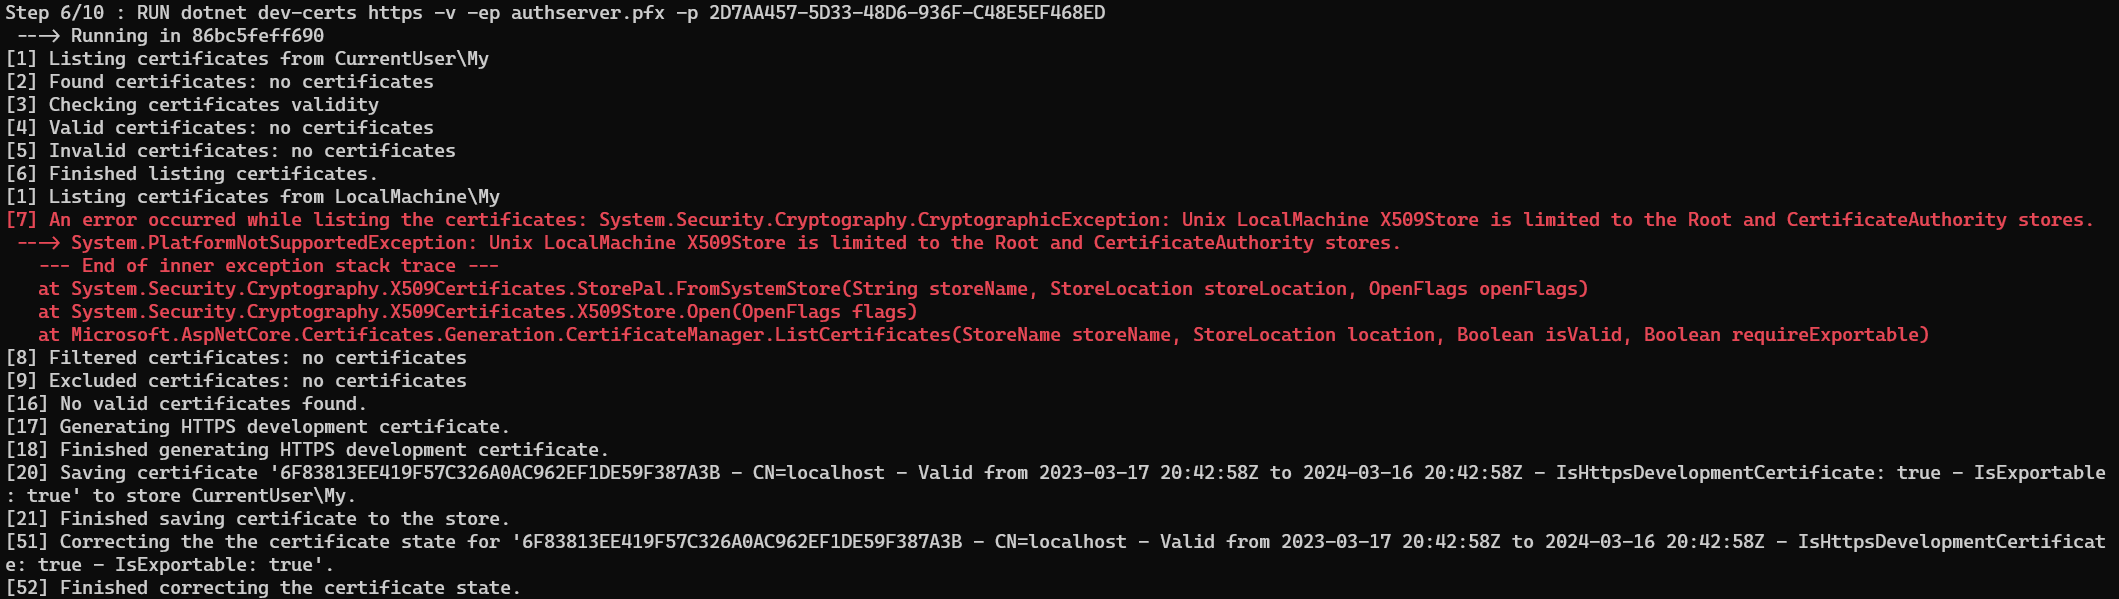
RUN dotnet dev-certs https -v -ep authserver.pfx -p 2D7AA457-5D33-48D6-936F-C48E5EF468ED
FROM base AS final
WORKDIR /app
COPY --from=build /src .
ENTRYPOINT ["dotnet", "Acme.BookStore.HttpApi.Host.dll"]
You can come across an error when the image is being built. This occurs because of dotnet dev-certs command trying to list the existing certificates inside the container and unavailable to. This error is not important since we aim to generate the authserver.pfx file and discard the container it is built in.
Since it contains the openid-provider within, it also uses multi-stages to generate authserver.pfx file which is used by OpenIddict as a signing and encryption certificate. This configuration is found under the PreConfigureServices method of the HttpApiHostModule:
if (!hostingEnvironment.IsDevelopment())
{
    PreConfigure<AbpOpenIddictAspNetCoreOptions>(options =>
    {
        options.AddDevelopmentEncryptionAndSigningCertificate = false;
    });

    PreConfigure<OpenIddictServerBuilder>(builder =>
    {
        builder.AddSigningCertificate(GetSigningCertificate(hostingEnvironment, configuration));
        builder.AddEncryptionCertificate(GetSigningCertificate(hostingEnvironment, configuration));
        builder.SetIssuer(new Uri(configuration["AuthServer:Authority"]));
    });
}
This configuration disables the DevelopmentEncryptionAndSigningCertificate and uses a self-signed certificate called authserver.pfx. for signing and encrypting the tokens. This certificate is created when the docker image is built using the dotnet dev-certs tooling. It is a sample-generated certificate, and it is recommended to update it for the production environment. You can check the OpenIddict Encryption and signing credentials documentation for different customization options.
The GetSigningCertificate method is a private method located under the same HttpApiHostModule:
private X509Certificate2 GetSigningCertificate(IWebHostEnvironment hostingEnv, IConfiguration configuration)
{
    var fileName = "authserver.pfx";
    var passPhrase = "2D7AA457-5D33-48D6-936F-C48E5EF468ED";
    var file = Path.Combine(hostingEnv.ContentRootPath, fileName);

    if (!File.Exists(file))
    {
        throw new FileNotFoundException($"Signing Certificate couldn't found: {file}");
    }

    return new X509Certificate2(file, passPhrase);
}
You can always create any self-signed certificate using any other tooling outside the dockerfile. You need to remember to set them as embedded resource since the
GetSigningCertificatemethod will be checking this file physically.
If you don't want to use the build-images-locally.ps1 to build the images or to build this image individually and manually, navigate to Http.Api.Host folder and run:
dotnet publish -c Release #Builds the projects in Release mode
docker build -f Dockerfile.local -t acme/bookstore-api:latest . #Builds the image with "latest" tag
Running Docker-Compose on Localhost
Under the etc/docker folder, you can find the docker-compose.yml to run your application. To ease the running process, the template provides run-docker.ps1 (and run-docker.sh) scripts that handle the HTTPS certificate creation, which is used in environment variables;
$currentFolder = $PSScriptRoot

$slnFolder = Join-Path $currentFolder "../"
$certsFolder = Join-Path $currentFolder "certs"

If(!(Test-Path -Path $certsFolder))
{
    New-Item -ItemType Directory -Force -Path $certsFolder
    if(!(Test-Path -Path (Join-Path $certsFolder "localhost.pfx") -PathType Leaf)){
        Set-Location $certsFolder
        dotnet dev-certs https -v -ep localhost.pfx -p 91f91912-5ab0-49df-8166-23377efaf3cc -t
    }
}

Set-Location $currentFolder
docker-compose up -d
run-docker.ps1 (or run-docker.sh) script will check if there is an existing dev-cert already under the etc/certs folder and generate a localhost.pfx file if it doesn't exist. Kestrel will use this file as an HTTPS certificate.
You can also manually create the localhost.pfx file in a different path with different name and a different password by using dotnet dev-certs https -v -ep myCert.pfx -p YOUR_PASSWORD_FOR_HTTPS_CERT -t or with using any other self-signed certificate generation tool.
You need to update the service environment variables Kestrel__Certificates__Default__Path with the path and filename you have created and the Kestrel__Certificates__Default__Password with your new password in the docker-compose.yml file.
Now lets break down each docker compose service under the docker-compose.yml file:
bookstore-blazor
services:
  bookstore-blazor:
    image: acme/bookstore-blazor:latest
    container_name: bookstore-blazor
    build:
      context: ../../
      dockerfile: src/Acme.BookStore.Blazor/Dockerfile.local
    ports:
      - "44307:80"
    depends_on:
      - bookstore-api
    restart: on-failure
    volumes:
      - ./appsettings.json:/usr/share/nginx/html/appsettings.json
    networks:
      - abp-network
This is the Blazor application we deploy on http://localhost:44307 by default using the acme/bookstore-blazor:latest image that we have built using the build-images-locally.ps1 script. It is not running on HTTPS using the localhost.pfx since it is running on Nginx and it doesn't accept pfx files for SSL. You can check Nginx Configuring HTTPS Servers documentation for more information and apply the necessary configurations to nginx.conf file under the Blazor folder.
Don't forget to rebuild the
acme/bookstore-blazor:latestimage after updating thenginx.conffile.
On volumes, it mounts the appsettings.json file under the docker folder to achieve changing the environment variables without re-building the image. The overriding docker/appsettings.json file is as below:
{
  "App": {
    "SelfUrl": "http://localhost:44307"
  },
  "AuthServer": {
    "Authority": "https://localhost:44354",
    "ClientId": "BookStore_Blazor",
    "ResponseType": "code"
  },
  "RemoteServices": {
    "Default": {
      "BaseUrl": "https://localhost:44354"
    },
    "AbpAccountPublic": {
      "BaseUrl": "https://localhost:44354"
    }
  },
  "AbpCli": {
    "Bundle": {
      "Mode": "BundleAndMinify",
      "Name": "global",
      "Parameters": {
              "LeptonXTheme.Layout": "side-menu"
      }
    }
  }
}
This service runs in Docker network called
abp-network, awaits for the thebookstore-apito start up and restarts when it fails. You can customize these orchestration behaviors as you prefer.
bookstore-api
bookstore-api:
    image: acme/bookstore-api:latest
    container_name: bookstore-api
    hostname: bookstore-api
    build:
      context: ../../
      dockerfile: src/Acme.BookStore.HttpApi.Host/Dockerfile.local
    environment:
      - ASPNETCORE_URLS=https://+:443;http://+:80;
      - Kestrel__Certificates__Default__Path=/root/certificate/localhost.pfx
      - Kestrel__Certificates__Default__Password=91f91912-5ab0-49df-8166-23377efaf3cc
      - App__SelfUrl=https://localhost:44354
	  - App__CorsOrigins=http://localhost:44307
      - App__HealthCheckUrl=http://bookstore-api/health-status
	  - AuthServer__Authority=http://bookstore-api
      - AuthServer__RequireHttpsMetadata=false
      - ConnectionStrings__Default=mongodb://mongodb/BookStore
    ports:
      - "44354:443"
    depends_on:
   	  mongo-db:
        condition: service_healthy
    volumes:
      - ./certs:/root/certificate
    networks:
      - abp-network
This service is the backend application of the Blazor application that uses the acme/bookstore-api:latest image we have built using the build-images-locally.ps1 script. It runs on https://localhost:44354 by default by mounting the self-signed certificate we've generated under the etc/certs folder.
App__SelfUrlpoints to the localhost with the port we exposehttps://localhost:44354. It must point to a real DNS when deploying to production.App__CorsOriginsis the override configuration for CORS. We add the angular application URL herehttp://localhost:44307. It must point to a real DNS when deploying to production.App__HealthCheckUrlis the override configuration for the health check URL. Since this request will be done internally, it points to the service name in containerized environmenthttp://bookstore-api/health-statusAuthServer__Authorityis the issuer URL.http://bookstore-apiis the containerized issuer. It must point to a real DNS when deploying to production.AuthServer__RequireHttpsMetadatais the option for the openid-provider to enforce HTTPS. Since the backend itself is the OpenID-provider, we set ittrueby default.ConnectionStrings__Defaultis the overridden default connection string. It uses the containerized mongodb service by default.
This service runs in a Docker network called
abp-network, awaits for the database container for starting up and restarts when it fails. You can customize these orchestration behaviors as you prefer.
db-migrator
db-migrator:
    image: acme/bookstore-db-migrator:latest
    container_name: db-migrator
    build:
      context: ../../
      dockerfile: src/BookStore.DbMigrator/Dockerfile.local
    environment:
      - OpenIddict__Applications__BookStore_Blazor__RootUrl=http://localhost:44307
      - ConnectionStrings__Default=mongodb://mongodb/BookStore
    depends_on:
   	  mongo-db:
        condition: service_healthy
    networks:
      - abp-network
The database migrator service migrates the database and seeds the initial data. OpenIddict data is one of your application's most important seeded data. On production environment, you need to override the root URL of your application (http://localhost:44307) so that the authentication can work properly.
 08-09 May


